start assembling the axle back
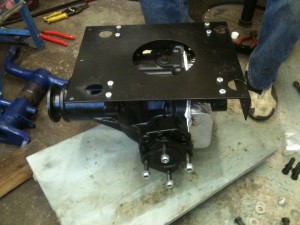
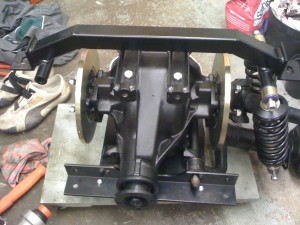
Once the paint was dry we could eventually start assembling the axle back. Firstly we bolted on the chassis backets to the base and top of the differential. These parts came as part of the chassis from Gerry and Hawks
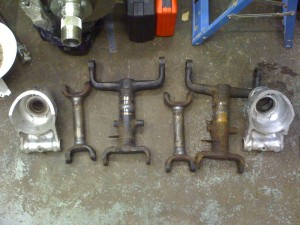
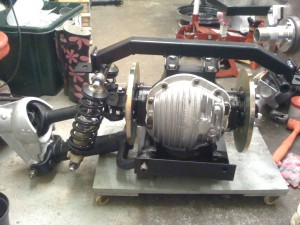
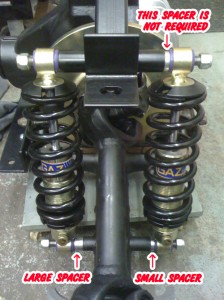
Then attaching the brake disks the newly painted arms and drive shafts, with new UJs and the hubs we built up a few weeks back. Also putting in the new upgraded rear springs and suspension. We were a little unsure how many spacers to use when attaching the suspension parts as we had quite a few in the box. After a call to Gerry, he confirmed all you need is a large and small one either side at the bottom to balance the different size backets with no spacers required at the top.
All we need now are the brake calipers that are being currently being Zinc coated and are due back next week. Then we can bolt the axle to the chassis, put the wheels on and we have a rolling chassis.

Leave A Comment