Mounting the screen washer reservoir.
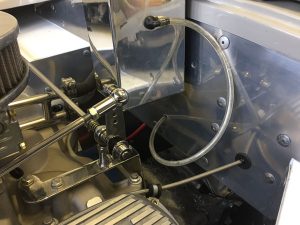
We had sourced a really nice aluminium 2L reservoir tank and we decided the best place to mount this was on the bulk head inside the engine bay. The feeder pipe would then run through the bulkhead to the washer pump, this was to be mounted behind the dash and the connected up to the jets with washer pipe. We marked the position of the tank drilled the holes for the M8 bolts and a smaller hole for the feeder pipe directly underneath the tank.
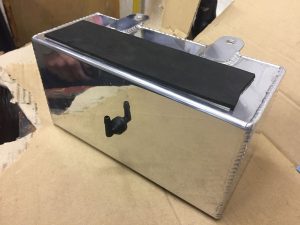
Before fixing into position we thought it best to attach a strip of neoprene on the back of the tank to prevent the tank rattling and rubbing against the bulk head. We also installed the outlet connection to the base of the tank and connected the feeder pipe.
Mounting the screen washer pump.
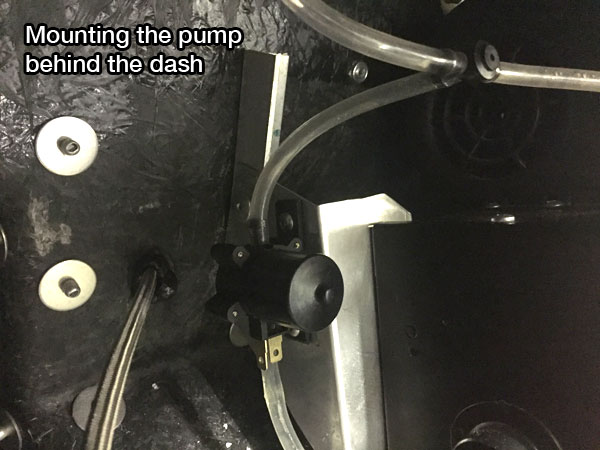
This was fairly straight forward. The modified brackets we made for the heater box were a natural position to mount the washer pump. We decided to mount this using M5 bolt and rivet nuts. We could then connect this up to the wiring harness.
Mounting the Washer Jets.
The gelcoat on the body had small position marks showing where to mount the washer jets in front of the windscreen, so we drilled holes and mounted the jets in place. Behind the dash we could then connect up the pipes from the pump to the end of the 2 jets using a T-piece this also had a one way valve to stop the wash fluid running back. By dipping the ends of the washer pipe into boiling water this made the pipe more supple and made it easier to push the pipe on to the connections.
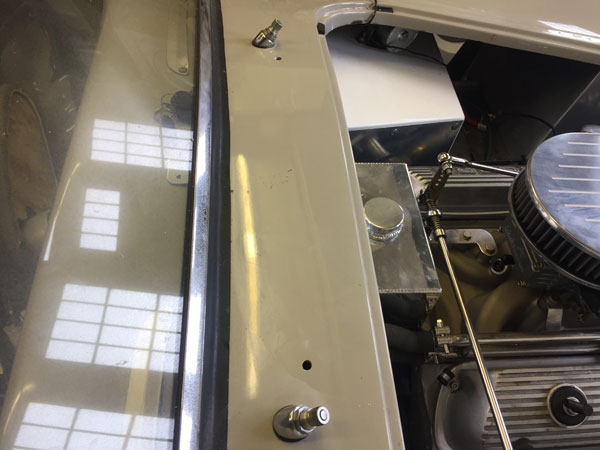
Once we were confident everything was connected up, we filled the tank with water to test. Initial it worked well but the water pressure soon dropped. We tried to work out why but soon realised this was down to the seal on the reservoir tank. When the water was being drawn through, the seal was causing a vacuum inside the tank. So we realised that we needed to drill a small hole in the filler cap reservoir tank to allow air in and for the water to be pulled through.
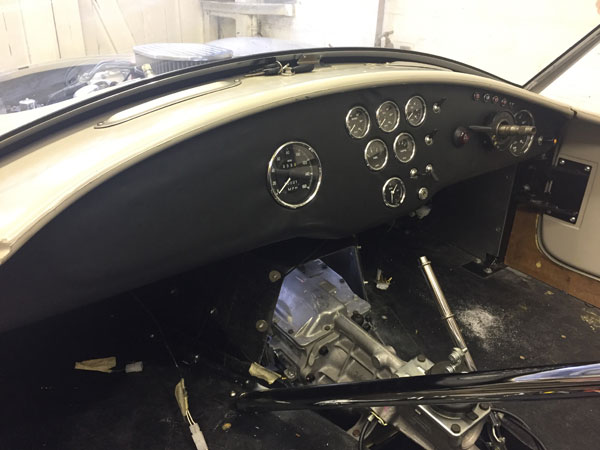
The final job was to fit the dash. Rather than using the nuts and bolts we used previously, we decided to put rivet nuts in the chassis which makes the dash feel really solid now it is fitted. The cover for the dash is temporary at this stage until will get through the IVA test, which is when we intend to install the glove box and cover the dash with a real leather finish.


Hi guys, one tip… Make sure you can easily get to the washer pump as they do fail and you want to make it as easy as possible to undo the fixing bolts, pipes and spade connectors! Ask me how I know ?
Hey guys – hope you’re still out there and haven’t given up on the build. Looking forward to meeting you one day – I used your blog for a lot of inspiration for my own Hawk build.