The next job of the day we decided would be to fit the roll bar. We were very excited to take delivery a week ago as we had been waiting for it to arrive back from the chromer for quite some time. Once again though, it was worth the wait as the quality is very good so we were keen to get it fitted to see now it looked .
The roller basically comes in 2 parts, being the loop section that sits behind the drivers seat and the diagonal cross bar that sits across the cabin and fixes next to the transition tunnel through a plate in the chassis underneath the passenger footwell.
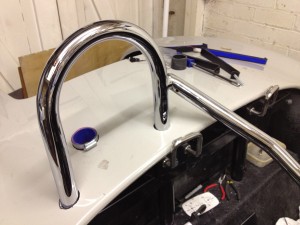
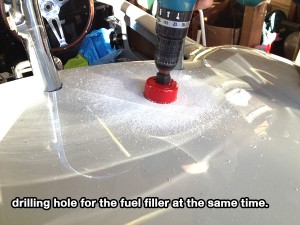
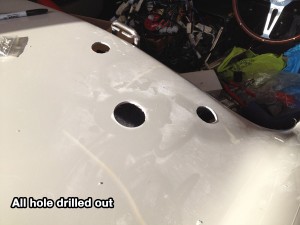
First up was fitting the loop part. This simply fits using 3 bolts, 2 through the seat belt framework we installed back in March and 1 bolt through the chassis from underneath. Firstly we had to carefully measure where the hole should be cut in the body. We drilled a small pilot hole before using a dremel to slowly increase to hole to the correct size . We used a cardboard template while dremelling but in the end we found that sitting a toilet paper tube underneath was perfect template to use. We thought while we were at it that we would also measure and cut out the hole for the filler cap at the same time using a hole cutter.
Next up was to drill the hole to allow the longer leg of the bar to be bolted to the chassis from underneath. Although there is a hole already in the chassis this isn’t so easy to get at. We had to jack up the back end slightly for Mark to get underneath and drill through. It was close to where the rear wiring loom was located so we were careful not to go through that while drilling. Next we could mark up and drill the two holes to bolt the hoop to the framework. One side uses the bolt that fixes the frame to the support straps in the boot and the other side just needs an additional bolt through the frame.
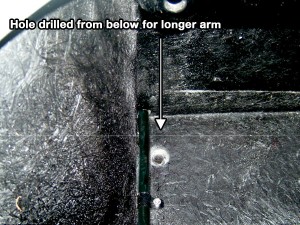
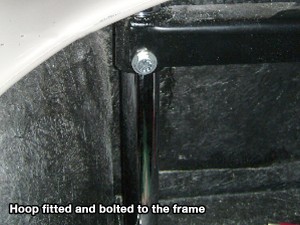
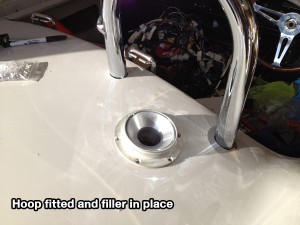
We were ready to fit the hoop. I should also say that we plan to source some rubber grommets for the holes where the hoop goes through in the body to finish this all off really nicely. We also provisionally put in the filler cap to see how it would look, although we also plan to properly fit this later.
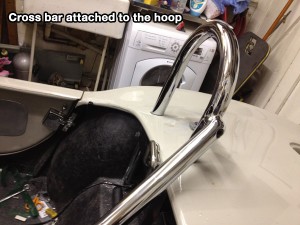
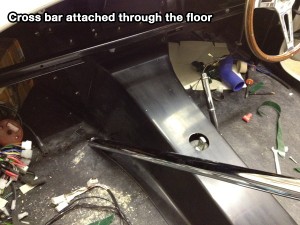
We were onto fitting the cross bar now. This attaches to the hoop with the cap head screw provided. The build manual stated that we should aim to fix the bottom end as close to the transition tunnel as possible, so we provisionally fitted the transition tunnel so we could get an idea of the position. We pulled the end of the bar across as much as possible which meant cutting a small amount out of the flange on the tunnel to allow the end of the bar to sit flush with the floor. It was then a case of drilling and bolting through the steel plate on the chassis outrigger using the nut and bolt supplied.
—-


Leave A Comment